Why most Skylight installation: How to add natural light without adding excessive heat projects fail (and how yours won't)
Your Dream Skylight Just Turned Your Living Room Into a Sauna
Picture this: You spent $3,500 installing a beautiful skylight to brighten up your dark hallway. Three months later, you're standing there in July with sweat dripping down your back, watching your energy bill climb 40% higher than last summer. The natural light is gorgeous, sure—but you've basically turned your home into a greenhouse.
This scenario plays out in thousands of homes every year. Homeowners chase that Instagram-worthy flood of natural light, only to discover they've created a solar oven that makes half their house uninhabitable during peak hours.
Why Skylight Projects Go Sideways
Most skylight disasters aren't about bad contractors or faulty products. They're about fundamental misunderstandings of how skylights interact with your home's thermal envelope.
The biggest culprit? Treating all skylights like they're created equal. A standard clear glass skylight can transfer up to 700 BTUs of heat per square foot on a sunny summer day. That's roughly equivalent to running a space heater in reverse—pumping heat directly into your living space.
The Three Fatal Mistakes
First mistake: People install skylights based purely on where they want light, ignoring solar orientation. A south-facing skylight in Phoenix gets hammered with 8-10 hours of direct sun daily. That same skylight on a north-facing slope? Maybe 2-3 hours of gentler, indirect light.
Second: Skipping the glazing conversation entirely. Your contractor asks what size you want, and you pick based on aesthetics. Nobody mentions that the difference between single-pane and low-E coated triple-glazing can mean a 60-70% reduction in heat gain.
Third: The "more is better" trap. One client I know installed four 2x4 foot skylights in their great room. Looked spectacular in the renderings. In reality, they added 850 square feet of solar heat gain—equivalent to parking a running car inside their house for six hours a day.
Warning Signs You're Heading for Trouble
Your contractor gives you a single product option without asking about your roof orientation or climate zone. That's a red flag the size of Texas.
They can't explain the difference between U-factor (how well it insulates) and Solar Heat Gain Coefficient (how much solar radiation passes through). These numbers matter more than brand names.
The quote doesn't mention ventilation options. Fixed skylights are cheaper, but venting models can exhaust hot air that accumulates at ceiling level—often reducing cooling loads by 15-20% in rooms with high ceilings.
How to Actually Get This Right
Step 1: Match Skylight to Your Roof's Solar Exposure
North-facing slopes are your friend in hot climates. They receive consistent, indirect light without the thermal punch. South-facing installations need serious heat-blocking technology—we're talking SHGC ratings below 0.30 and preferably closer to 0.20.
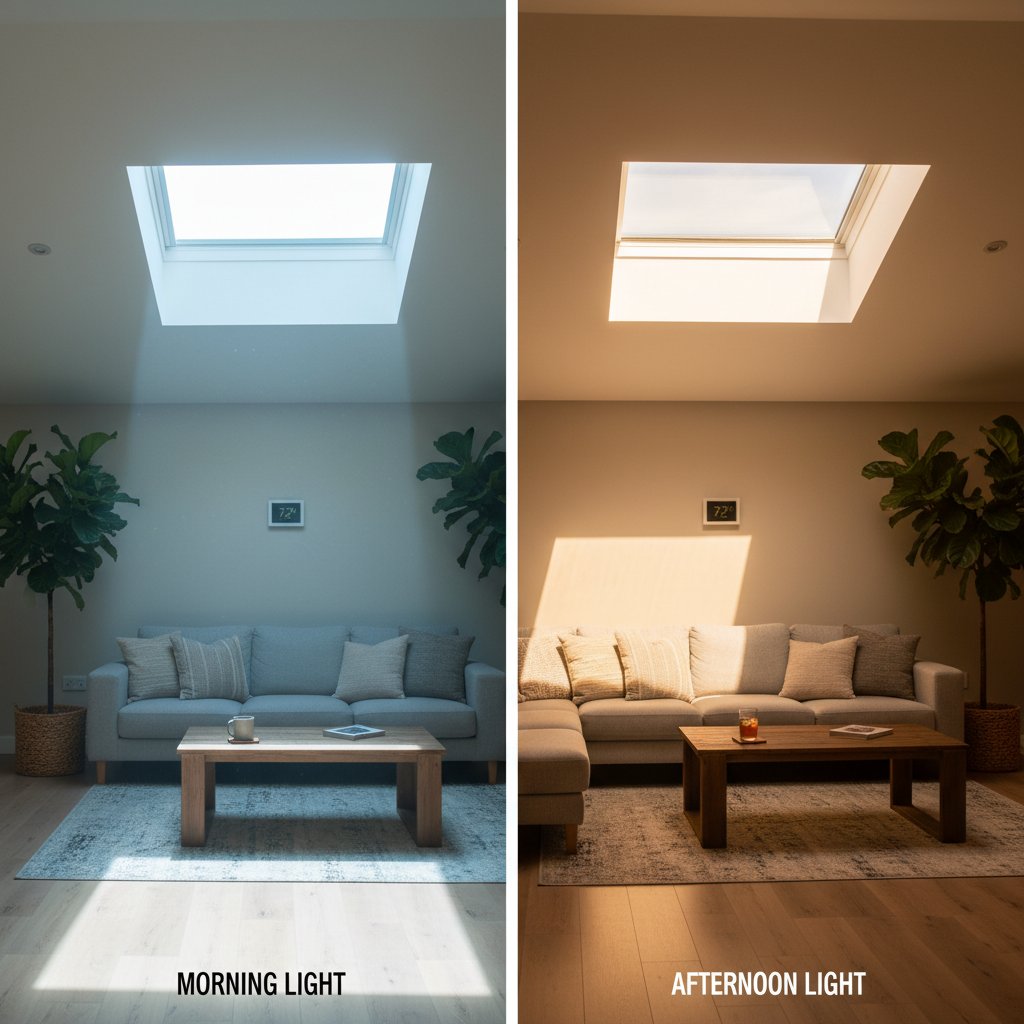
East and west exposures are trickier. Morning sun (east) is generally cooler, but western skylights catch that brutal afternoon heat. If you must go west-facing, plan for additional shading solutions.
Step 2: Specify the Right Glazing Package
Low-E coatings are non-negotiable in warm climates. They reflect infrared heat while letting visible light through. A quality low-E skylight blocks 70% of heat gain while maintaining 50-60% light transmission.
Look for products with a U-factor of 0.35 or lower and SHGC under 0.35. Yes, they cost 30-40% more than basic models—around $800-1,200 per unit installed versus $500-700. But you'll recoup that difference in 3-4 years through energy savings.
Step 3: Size Appropriately
The rule of thumb: skylight square footage should be 5-15% of the room's floor area. For a 200 square foot bedroom, that's 10-30 square feet of skylight—not the 48 square foot monster your neighbor installed.
Multiple smaller units often work better than one massive skylight. They distribute light more evenly and give you flexibility in placement to avoid solar hot spots.
Step 4: Add Controllable Shading
Factory-installed blinds or shades aren't decorative extras—they're thermal management tools. Honeycomb shades can reduce heat gain by 45% when closed. Exterior shades or automated louvers do even better, blocking heat before it enters the glazing cavity.
Smart skylights with electrochromic glass that tints automatically cost 2-3x more upfront ($2,000-3,500 per unit), but they're game-changers for south and west exposures.
Keep Your Skylight Working for You, Not Against You
Set a reminder to close shades during peak sun hours (10 AM to 4 PM in summer). Sounds obvious, but most people forget until their AC has been running full blast for three hours.
Check the seals annually. A skylight that leaks air is bleeding conditioned air year-round. That small gap can cost you $150-300 annually in wasted energy.
Consider pairing your skylight with a ceiling fan. Moving air at ceiling level prevents heat stratification—that phenomenon where the top of your room is 15 degrees warmer than the floor.
Natural light transforms spaces. But only when you respect the physics involved. Get the orientation, glazing, and sizing right, and you'll have a skylight that brightens your home without torching your comfort or budget.